
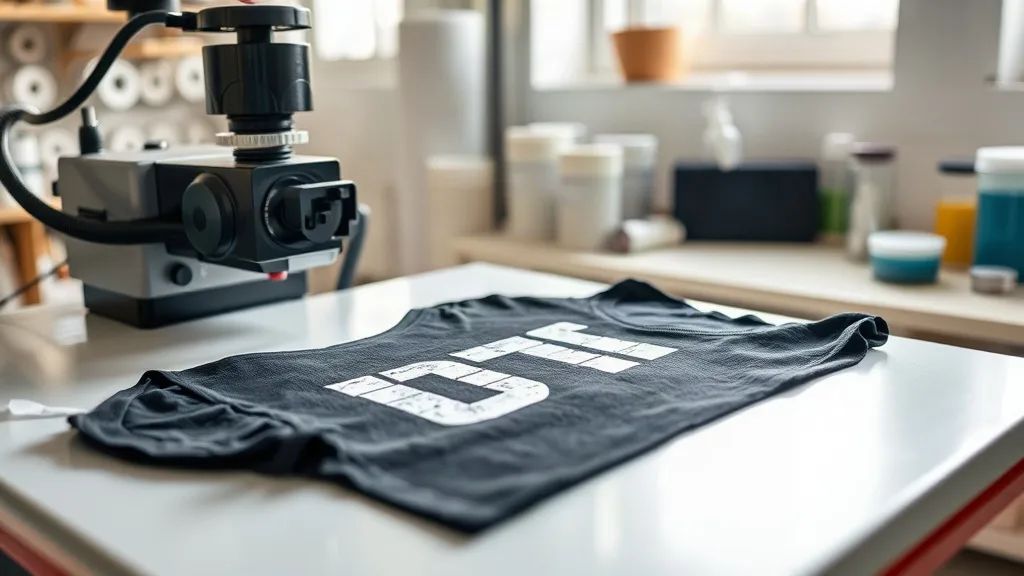
Custom apparel has never been more accessible, thanks to dtf printing technology. Unlike traditional methods that limit your fabric choices or require minimum orders, DTF transfers open up a world of possibilities for creators, small businesses, and hobbyists alike. Whether you're printing a single t-shirt for a birthday or gearing up for a full product line, understanding how DTF works can save you time, money, and frustration. In this guide, we'll walk through everything you need to know about dtf transfers, from the basic process to advanced tips that ensure professional-looking results every time.
What Are DTF Transfers?
DTF stands for Direct-to-Film. It's a printing method where your design is printed onto a special film, coated with a adhesive powder, and then heat-pressed onto fabric. The result is a soft, stretchable, and incredibly durable print that bonds with the fabric fibers. Unlike DTG (Direct-to-Garment) printing, which requires specially treated fabrics, DTF transfers work on almost any material: cotton, polyester, blends, leather, and even nylon. This versatility makes DTF a game-changer for anyone who wants to print on a variety of garments without investing in multiple printing systems.
The DTF Printing Process Step by Step
Understanding the process helps you troubleshoot issues and achieve consistent results. Here's how it works:
- Design Preparation: Your artwork is prepared in a graphics program, ensuring it's mirrored and sized correctly.
- Printing: A specialized DTF printer lays down white ink first, followed by CMYK colors, onto a PET film. The white ink acts as a base so colors pop on dark fabrics.
- Powder Application: While the ink is still wet, a thermoplastic powder is sprinkled over the print. The excess is shaken off.
- Curing: The film passes through a heat source (like a heat press or oven) to melt the powder, creating a adhesive layer.
- Transfer: The film is placed on the fabric and heat-pressed. After cooling, the film is peeled away, leaving the design bonded to the garment.
Each step is critical, but the magic happens when the powder melts and fuses with the ink, forming a flexible yet strong bond. With practice, you can master this workflow in a few hours.
Why Choose DTF Transfers Over Other Methods?
If you've tried screen printing, vinyl, or DTG, you know their limitations. Screen printing is cost-effective for large orders but impractical for small batches. Vinyl is great for simple designs but struggles with complex images. DTG produces excellent results on cotton but fades on synthetics. DTF transfers, however, offer the best of all worlds.
- No Fabric Restrictions: Print on cotton, polyester, blends, leather, and more without pre-treatment.
- Vibrant Colors: The white ink base ensures colors remain bright even on dark garments.
- Durability: Prints withstand dozens of washes without cracking or fading when applied correctly.
- Cost-Effective for Small Runs: No minimum order quantities, making it ideal for one-offs or samples.
- Soft Hand Feel: The print stretches with the fabric, so it doesn't feel like a plastic patch.
These advantages explain why DTF transfers have become the go-to solution for custom apparel businesses and DIY enthusiasts.
Getting Started: Essential Equipment and Materials
To produce DTF transfers at home or in a small shop, you'll need a few key items. While the initial investment can be significant, it pays off quickly if you're printing regularly.
DTF Printer
You can convert an Epson printer with DTF ink and a RIP software, or buy a dedicated DTF printer. Dedicated models handle white ink circulation better, reducing clogs. Expect to spend $1,500 to $5,000 for a reliable starter printer.
DTF Film and Powder
Not all films are created equal. Look for double-sided matte film that releases cleanly. The powder (often TPU-based) should have a fine consistency for smooth adhesion. Store powder in an airtight container to prevent moisture clumping.
Heat Press
A heat press with precise temperature and pressure control is crucial. You'll need temperatures around 320°F (160°C) for pressing and 350°F (175°C) for curing powder. A clamshell or swing-away press works well.
Additional Supplies
- Heat-resistant tape
- Parchment paper or Teflon sheet
- Lint roller
- Scissors or cutting machine
Starting with quality supplies reduces frustration and ensures professional results.
Step-by-Step Guide to Applying DTF Transfers
Applying a DTF transfer is straightforward, but attention to detail makes all the difference. Follow these steps for a flawless finish.
- Preheat the Garment: Press the shirt for 5-10 seconds to remove moisture and wrinkles. This also helps the transfer adhere evenly.
- Position the Transfer: Place the film with the design facing up (unless mirrored). Use heat tape to secure it if needed.
- Press: Set your heat press to 320°F (160°C) with medium pressure. Press for 10-15 seconds.
- Cool and Peel: Remove the garment from the press and let it cool for 30-60 seconds. Peel the film off in a smooth, continuous motion. If the design lifts, press again for a few seconds.
- Post-Press (Optional): For extra durability, cover with parchment and press again for 5 seconds. This ensures the powder fully cures.
Practice on scrap fabric to dial in your press settings. Every heat press behaves slightly differently.
Common DTF Problems and How to Fix Them
Even with experience, you might encounter issues. Here are typical problems and their solutions.
Design Peels Off After Washing
This usually means insufficient pressure or temperature during application. Increase pressure and ensure the press reaches the correct temperature. Also, verify that the powder was fully cured before transferring.
Colors Look Dull
Dull colors often result from too little white ink or over-pressing. Check your printer's white ink density and reduce pressing time. Using a higher-quality film can also improve vibrancy.
Film Won't Release Cleanly
If the film sticks to the design, it's likely too hot. Let it cool longer before peeling. If it's too cold, the design may not adhere fully. Find the sweet spot by testing.
Cracking Over Time
Cracking indicates the print is too thick or the fabric stretches more than the ink. Use a thinner layer of ink and ensure the design is not over-stretched during pressing. Washing garments inside out in cold water also extends life.
Pro Tips for Perfect DTF Transfers
Take your DTF game to the next level with these expert recommendations.
- Maintain Your Printer: DTF printers require daily maintenance to prevent clogged nozzles. Run a nozzle check and clean the printhead regularly.
- Control Humidity: Ideal humidity is 45-65%. Too dry causes static and powder issues; too damp affects ink drying.
- Use Quality Powder: Cheap powder can cause clogging and poor adhesion. Invest in reputable brands.
- Test Fabrics: Always test on a swatch before pressing onto a finished garment, especially with blends.
- Store Transfers Properly: Keep unused transfers in a cool, dry place away from direct sunlight. They can last for months if stored correctly.
These small habits lead to consistent, professional results that keep customers coming back.
DTF Transfers vs. Other Printing Methods: A Quick Comparison
To help you decide, here's how DTF stacks up against common alternatives.
- DTF vs. Screen Printing: Screen printing is cheaper for bulk orders but requires separate screens per color. DTF has no color limits and no minimums.
- DTF vs. DTG: DTG needs pre-treated cotton and struggles on synthetics. DTF works on almost any fabric without pre-treatment.
- DTF vs. Vinyl: Vinyl is limited to simple shapes and colors. DTF handles complex gradients and photos.
- DTF vs. Sublimation: Sublimation only works on light polyester. DTF works on dark cotton and blends.
For versatility and quality, DTF transfers are hard to beat.
Frequently Asked Questions About DTF Transfers
How long do DTF transfers last?
When applied correctly, DTF transfers can last 50+ washes without fading or cracking. Proper washing (inside out, cold water, no bleach) extends their life significantly.
Can I use DTF transfers on dark shirts?
Absolutely. DTF transfers include a white ink base that makes colors pop on dark fabrics. This is one of their biggest advantages over DTG.
Do I need a special printer for DTF?
You can convert a standard Epson printer with DTF ink and RIP software, or buy a dedicated DTF printer. Dedicated printers are more reliable for frequent use.
What fabrics work best with DTF?
DTF works on cotton, polyester, blends, leather, nylon, and more. It's not recommended for fabrics with heavy coatings or waterproof treatments.
How do I store unused DTF transfers?
Keep them in a cool, dry place, away from direct sunlight and moisture. Stack them with parchment paper between layers to prevent sticking. They can last up to 6 months.
With this knowledge, you're ready to dive into the world of DTF transfers. Whether you're a hobbyist or a business owner, mastering this technique can open up new creative and profitable opportunities. Remember, practice makes perfect, so don't hesitate to experiment and refine your process.