
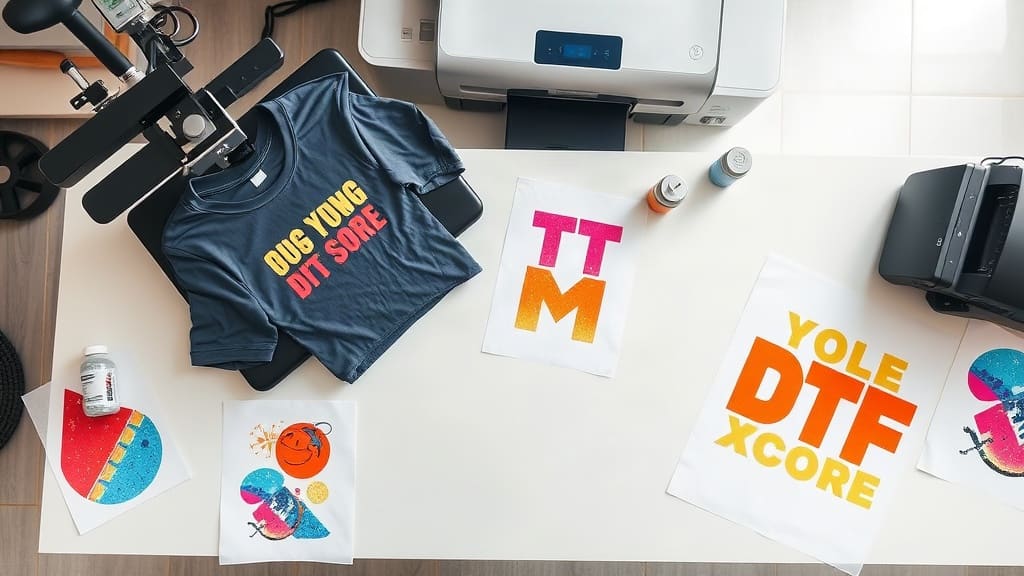
DTF transfers have taken the custom printing world by storm. If you are new to this technology, you might be wondering what makes them so popular and how they differ from traditional methods like screen printing or heat transfer vinyl. In this guide, we will walk you through everything you need to know, from the basics to advanced application tips.
What Are DTF Transfers?
DTF stands for Direct to Film. In simple terms, a design is printed onto a special film using a printer and then transferred onto fabric using heat and pressure. Unlike vinyl, which requires cutting and weeding, DTF prints can include full-color designs with gradients and shadows, and they feel soft on the garment.
The process is relatively straightforward: you print your artwork onto a PET film using DTF inks, apply an adhesive powder to the wet ink, cure the powder, and then you have a ready-to-press transfer. Later, you can store these transfers and press them whenever you need them.
Why DTF Transfers Are a Game-Changer
One of the biggest advantages of DTF transfers is versatility. They work on a wide range of fabrics, including cotton, polyester, blends, and even some nylons. This makes them ideal for custom t-shirts, hoodies, tote bags, and more. Because the design is transferred from a film, you do not need to worry about mirroring your image, and you can produce small or large batches with the same ease.
Another benefit is cost-effectiveness. For small orders, DTF is often more affordable than screen printing because there are no setup fees. You can print one item or hundreds without changing your workflow. And the end result is durable, stretchable, and resistant to cracking, which is a common issue with other transfer methods.
How to Apply DTF Transfers: Step-by-Step
Applying DTF transfers is a skill that improves with practice, but here is a basic guide to get you started.
- Preheat your heat press to approximately 320°F (160°C). The exact temperature may vary depending on the film and adhesive brand, so always check the manufacturer's instructions.
- Place the transfer onto your garment with the printed side facing down. The film side should be on top.
- Press with medium pressure for about 15-20 seconds. Use a silicone sheet or Teflon paper to protect the film and the garment.
- Peel the film while it is still hot. Some films require cold peel, but most DTF transfers are hot peel, meaning you remove the film immediately after pressing.
- Re-press briefly to ensure full adhesion, especially if you notice any areas that did not stick properly.
Remember, the quality of your press matters. A consistent temperature and pressure are crucial for a lasting bond. If you are using a home iron, it will be difficult to achieve the same results, so investing in a heat press is recommended.
Choosing the Right Equipment and Materials
To create your own DTF transfers, you will need a few essential items: a DTF printer (often an EPSON or other inkjet printer converted for DTF), DTF inks, PET film, adhesive powder, and a heat press. While the initial investment might seem high, it pays off if you plan to produce transfers regularly.
If you are just starting out, you might prefer to purchase pre-made DTF transfers from a supplier. This allows you to test the waters without committing to expensive equipment. Many online stores offer custom printing services where you can upload your design and receive ready-to-press transfers in the mail.
Design Tips for DTF Transfers
Creating artwork for DTF is different than designing for other methods. Here are some tips to get the best results:
- Use high-resolution images (at least 300 DPI) to avoid pixelation.
- Keep white in your design because the white underbase is essential for vibrant colors on dark garments. If you do not include white, the design will be transparent.
- Avoid thin lines and very small details, as they may not transfer cleanly.
- Choose the right size for your garment. Usually, a width of 10 to 12 inches is standard for chest prints.
Experiment with different color combinations and always do a test print on a scrap fabric before finalizing your design.
DTF Transfers vs. Other Methods
When comparing DTF transfers to other techniques, several differences stand out:
DTF vs. Screen Printing
Screen printing is ideal for bulk orders, but it requires a significant setup for each color. DTF is more flexible for small runs and offers unlimited colors. However, for orders over 500 pieces, screen printing might be more cost-effective per unit.
DTF vs. Heat Transfer Vinyl (HTV)
HTV is great for simple designs with few colors, but it requires weeding, which is time-consuming. DTF allows you to print full-color images without weeding, saving you time and effort.
DTF vs. Sublimation
Sublimation only works on polyester or polymer-coated surfaces, and it requires a white base if you want bright colors. DTF can print on cotton and dark fabrics, making it more versatile.
Common Mistakes to Avoid
Even experienced printers can make errors. Here are some pitfalls to avoid when working with DTF transfers:
- Wrong temperature or pressure: Too low and the transfer won't stick; too high and you might damage the garment or film.
- Peeling too early or late: Follow the recommended peel time for your specific film.
- Skipping test prints: Always test a sample to ensure your colors and adhesion are correct.
- Ignoring the white underbase: For dark garments, the white layer is crucial. Without it, your design will look dull or translucent.
Care Instructions for DTF Transfers
To make your DTF prints last, proper care is necessary. Wash garments inside out in cold water, avoid using bleach or fabric softeners, and tumble dry on low heat. Do not iron directly on the design; use a protective sheet if needed. Following these steps will keep your prints vibrant for years.
Frequently Asked Questions
Can DTF transfers be used on any fabric?
DTF transfers work best on cotton, polyester, and blends. They can also be applied to other materials like denim or canvas, but you might need to adjust the pressing time and temperature. Always test on a small area first.
How long do DTF prints last?
With proper application and care, DTF prints can last as long as the garment itself. They are durable and resistant to cracking and peeling, but repeated washing and harsh conditions can eventually cause wear.
Can you wash DTF transfers?
Yes, you can wash garments with DTF transfers. Turn them inside out, use cold water, and avoid high heat drying. This helps preserve the vibrancy and integrity of the print.
What is the difference between DTF and DTG?
DTG (Direct to Garment) prints directly onto the fabric using an inkjet printer. DTF prints onto a film first and then transfers to the fabric. DTF is often more versatile for different fabric types and colors, while DTG is excellent for detailed prints but typically requires a pretreatment for dark shirts.
Do DTF transfers feel soft?
Yes, DTF prints have a relatively soft hand feel compared to screen prints or vinyl. The adhesive layer is thin, so the design does not feel heavy or rubbery.
Final Thoughts
DTF transfers offer a practical, efficient, and high-quality solution for custom apparel. Whether you are a hobbyist or a business owner, understanding how to use them can open up new possibilities. Start with simple designs, experiment, and soon you will be creating professional-looking products that your customers will love.
If you are ready to dive in, consider trying pre-made transfers first to learn the process. Then, as you gain confidence, you can invest in your own equipment. With the right knowledge and tools, DTF transfers can become your go-to method for custom printing.