
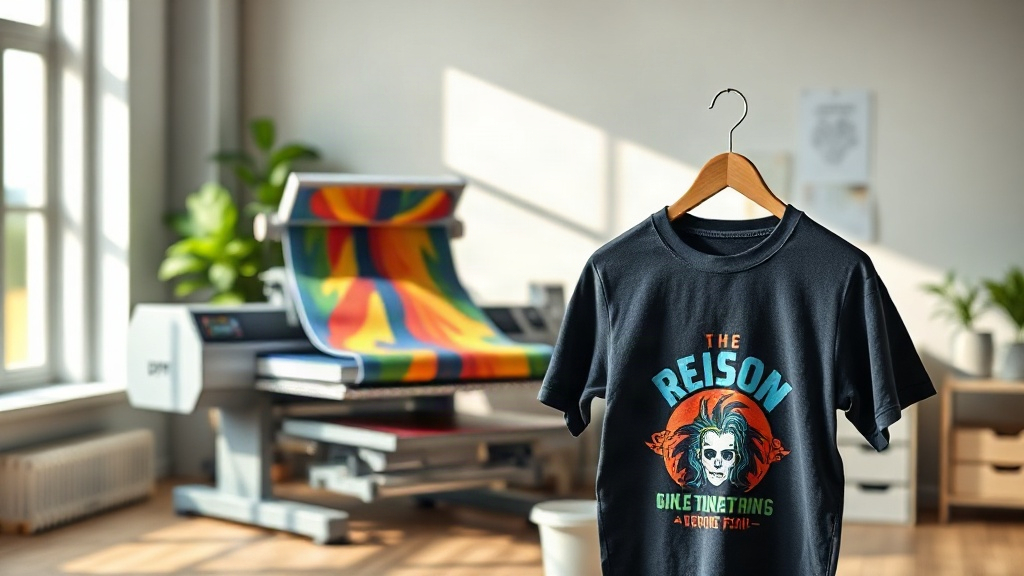
If you've been exploring custom apparel printing, you've likely encountered the term DTF. Short for Direct-to-Film, this technology has rapidly gained popularity among crafters, small business owners, and professional printers alike. Unlike traditional methods that require specific fabrics or extensive setup, DTF printing offers a versatile, cost-effective solution for producing vibrant, durable transfers that can be applied to a wide range of materials. In this guide, we'll walk you through the essentials of DTF printing, from the basic process to practical tips for achieving professional results.
What Exactly Is DTF Printing?
DTF printing is a digital printing method where your design is printed onto a special film, coated with a heat-activated adhesive powder, and then transferred onto fabric using a heat press. The process begins with a digital printer equipped with pigment-based inks (typically CMYK plus white). The design is printed in mirror image onto a PET film. While the ink is still wet, a fine layer of thermoplastic powder is applied, which adheres to the ink. After shaking off the excess powder, the film is cured in an oven or with a heat gun. Once cured, the transfer is ready to be applied to a garment. The heat press melts the powder, bonding the design to the fabric. This method eliminates the need for weeding, layering, or specialized vinyl cutters, making it accessible even for beginners.
Why DTF Printing Stands Out
There are several reasons why DTF printing has become a go-to choice for many. First, it works on almost any fabric: cotton, polyester, blends, even leather and canvas. Unlike DTG (Direct-to-Garment) printing, which often requires pretreating and works best on 100% cotton, DTF transfers adhere well to synthetic materials. Second, the color vibrancy is exceptional. The white ink base allows designs to pop on both light and dark garments without the need for multiple screens or layers. Third, the durability is impressive; when applied correctly, DTF prints withstand repeated washing without fading or cracking. Finally, the cost per print is relatively low, especially for small to medium batches, making it ideal for small businesses and side hustles.
DTF vs. Other Printing Methods
To appreciate DTF, it helps to compare it with alternatives. Screen printing is cost-effective for large orders but requires setup and is impractical for complex, multi-color designs. DTG is great for detailed, photographic prints on cotton but struggles with polyester and dark shirts. Vinyl printing (HTV) is simple for one-color designs but tedious for multi-color graphics. DTF bridges the gap: it handles intricate, full-color designs on virtually any fabric, with minimal setup. The main trade-off is the need for a dedicated printer and curing equipment, but the versatility often justifies the investment.
Getting Started with DTF Printing
If you're ready to dive into DTF, here's a step-by-step overview to set you up for success.
1. Choose the Right Equipment
You'll need a DTF printer, which is essentially a modified inkjet printer with a white ink channel. Popular options include converted Epson models or dedicated DTF printers from brands like Roland and Mutoh. Additionally, you'll need DTF film (usually PET), DTF ink, adhesive powder, and a heat press. A curing oven or heat gun is necessary for melting the powder. For beginners, starter kits are available that bundle these components.
2. Prepare Your Design
Your design should be in a high-resolution format (300 DPI or higher) with transparent background if needed. Remember to mirror the image horizontally before printing, as the transfer will be flipped when applied. Most RIP (Raster Image Processor) software that comes with DTF printers handles this automatically. Also, consider the fabric color: for dark garments, ensure your design includes a white underbase, which the printer typically generates.
3. Printing and Powdering
Load the DTF film into the printer and print your design. While the ink is still wet, sprinkle the adhesive powder evenly over the printed area. Gently shake off the excess; you want a thin, uniform coating. Then, cure the film in an oven at around 320°F (160°C) for 2-3 minutes, or use a heat gun until the powder melts and becomes glossy. Be careful not to over-cure, as it can make the transfer brittle.
4. Heat Press Application
Set your heat press to 325°F (163°C) with medium pressure. Place the garment on the press, position the transfer film on top (design facing up), and press for 15-20 seconds. For best results, use a Teflon sheet or parchment paper over the transfer. After pressing, allow the garment to cool completely before peeling off the film. You can peel it warm or cold; cold peel often yields a matte finish, while warm peel gives a glossier look. Finally, apply a second press for 5-10 seconds with a Teflon sheet to ensure the print is fully embedded.
Tips for Flawless DTF Transfers
- Maintain consistent pressure: Uneven pressure can cause poor adhesion or a patchy appearance. Adjust your heat press accordingly.
- Control humidity: High humidity can affect powder application and curing. Store film and powder in a dry environment.
- Test your settings: Every heat press and fabric behaves differently. Always do a test press on a scrap piece before production.
- Use quality supplies: Cheaper films or powders may lead to dull colors or poor wash durability. Invest in reputable brands.
- Clean the printer regularly: White ink tends to settle, so daily maintenance is key to preventing clogs.
Common Challenges and How to Overcome Them
Even with practice, you might encounter issues. Here are a few common problems and solutions:
- Faded colors after wash: This usually indicates under-curing of the powder or insufficient pressure during transfer. Increase curing time or pressure.
- Transfer peeling off: Ensure the garment is free of wrinkles and moisture before pressing. Also, check that the powder is fully melted.
- Clogged printhead: Regular cleaning and using a humidifier in dry climates can prevent clogs. Never let the printer sit idle for long periods without printing.
- Powder not sticking: Too much or too little powder can cause issues. Aim for a light, even coat. If the ink is too dry, adjust the printer settings to increase ink output.
Frequently Asked Questions About DTF Printing
How long does a DTF print last?
When applied and cared for properly, a DTF print can last as long as the garment itself. Wash inside out in cold water and avoid harsh detergents or bleach. Tumble dry on low or hang dry.
Can I use DTF on 100% polyester?
Absolutely. DTF transfers adhere well to polyester and blends, unlike some other methods. Just ensure the fabric can withstand the heat press temperature (usually around 325°F).
Do I need a special printer for DTF?
Yes, you need a printer that supports white ink and is compatible with DTF film and ink. Many people convert Epson printers, but dedicated DTF printers are also available.
Is DTF printing cost-effective for small orders?
Yes, DTF is very cost-effective for small to medium orders because there's no minimum quantity and setup is minimal. The cost per print decreases as you scale up.
What fabrics can I use with DTF?
DTF works on cotton, polyester, nylon, leather, canvas, and more. It's one of the most versatile printing methods available.
Final Thoughts
DTF printing opens up a world of possibilities for custom apparel. Whether you're a hobbyist looking to create personalized gifts or a business aiming to offer high-quality prints, this technology delivers. With the right equipment, a bit of practice, and attention to detail, you can achieve professional results that rival traditional methods. So why not give DTF a try? Your creativity is the only limit.