
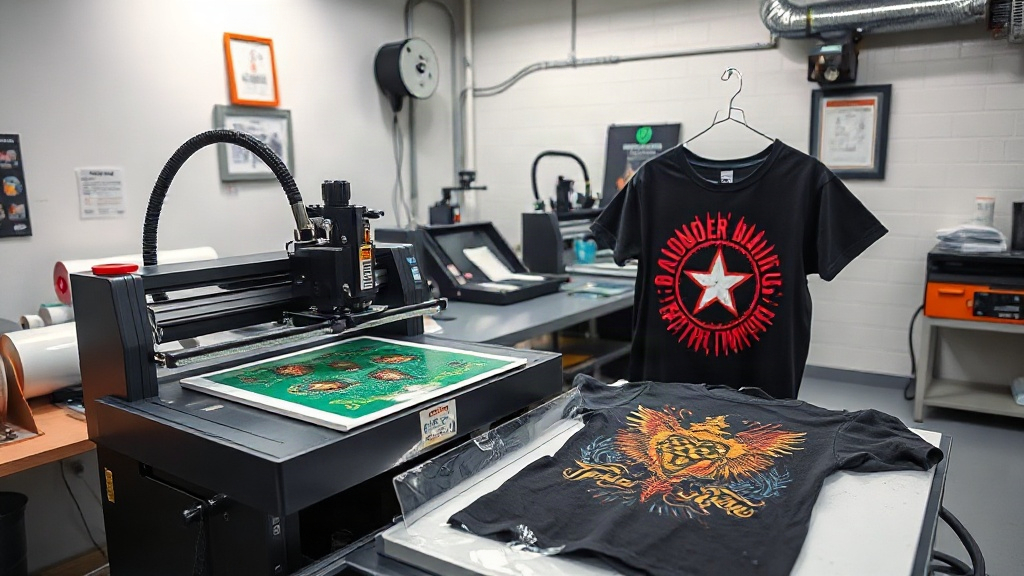
Imagine pressing a vibrant, full-color design onto a dark cotton t-shirt without the hassle of weeding or the limitations of traditional methods. That's the promise of DTF printing, a technology that's rapidly becoming a favorite among crafters and small business owners. Unlike other printing techniques, DTF (Direct to Film) offers unparalleled versatility, allowing you to transfer intricate designs onto almost any fabric. In this guide, we'll walk you through everything you need to know to get started with DTF printing, from the basics to pro tips.
What Exactly Is DTF Printing?
DTF printing stands for Direct to Film. It's a process where your design is printed onto a special film, coated with a adhesive powder, and then heat-pressed onto the fabric. The magic lies in the film: it holds the ink and powder, which melt and bond to the fabric under heat and pressure. This method eliminates the need for pre-treating garments (unlike DTG) and works on a wide range of materials, including cotton, polyester, blends, and even leather. The result is a soft, stretchable print that withstands washing and wear.
Why Choose DTF Over Other Printing Methods?
If you've tried screen printing, heat transfer vinyl (HTV), or DTG, you know each has its quirks. DTF printing addresses many of those pain points. Here's why it's gaining traction:
- No weeding required: Unlike HTV, you don't spend hours cutting and peeling tiny details. The printer does the work.
- Full-color designs: Print gradients, photographs, and complex artwork with ease. No color limitations.
- Works on multiple fabrics: From 100% cotton to polyester and blends, DTF adheres well. It's also great for dark garments, where DTG often struggles.
- Durability: When applied correctly, DTF prints resist cracking, peeling, and fading, even after repeated washes.
- Cost-effective for small batches: No setup fees or minimums, making it ideal for one-off custom pieces or small runs.
How Does the DTF Process Work?
Understanding the steps helps you troubleshoot and improve your results. Here's a breakdown of the DTF workflow:
1. Design Preparation
Start with your artwork in a digital format. Ensure it's high resolution (300 DPI recommended) and in CMYK color mode. Mirror the image horizontally before printing, as the film will be flipped when pressed. If your design has fine details or small text, use a transparent background to avoid excess film.
2. Printing onto Film
Load your DTF printer with specialty film. The printer lays down a layer of white ink first (for opacity on dark fabrics), followed by the color layers. Some printers also print a final white layer on top to protect the design. The film is then cured under a heat source or in a curing oven.
3. Powder Application
While the ink is still wet, apply DTF adhesive powder evenly over the printed area. Shake off the excess, then cure the powder until it melts and becomes glossy. This powder is what bonds the design to the fabric.
4. Heat Pressing
Set your heat press to the temperature and time recommended by your film and powder manufacturer (typically around 320°F for 15 seconds). Place the film on the garment with the design facing up, and press. Once cooled, peel the film off. For a matte finish, you can press again with a Teflon sheet.
Essential Equipment for DTF Printing
To get started, you'll need:
- A DTF printer (modified inkjet or dedicated DTF printer)
- DTF film (PET film)
- DTF adhesive powder
- Heat press
- Curing oven or heat gun (for powder curing)
- Design software (e.g., Photoshop, Illustrator)
While the initial investment can be significant, the versatility and low cost per print make it worthwhile for many.
Common Challenges and How to Overcome Them
Like any craft, DTF printing has a learning curve. Here are some issues you might face and their solutions:
- Faded or dull prints: Ensure your ink is fresh and your printer is properly maintained. Also, check that you're using the correct color profile.
- Powder not sticking: Apply powder immediately after printing while the ink is wet. If it's too dry, the powder won't adhere.
- Peeling after washing: This often means insufficient pressure or time during heat pressing. Increase pressure and ensure even coverage.
- Cracking: Stretching the garment before the print cools can cause cracks. Let it cool completely before handling.
Tips for Vibrant, Long-Lasting DTF Prints
To achieve professional results, follow these best practices:
- Store film and powder in a cool, dry place to prevent moisture absorption.
- Use a lint roller on the garment before pressing to remove debris.
- Pre-press the garment for a few seconds to remove wrinkles and moisture.
- Experiment with different powders and films to find what works best for your fabrics.
- Always test on a scrap piece before pressing onto a final product.
Frequently Asked Questions
What fabrics can I use with DTF printing?
DTF printing works on a wide range of fabrics, including cotton, polyester, nylon, leather, and blends. It's especially effective on dark colors and synthetic materials where other methods may fail.
How durable is a DTF print?
When applied correctly, a DTF print can last as long as the garment itself. It resists cracking, peeling, and fading through numerous wash cycles. Proper heat press settings and quality materials are key.
Do I need to pre-treat the fabric before DTF printing?
No, one of the advantages of DTF is that it doesn't require pre-treatment. However, pre-pressing the garment to remove wrinkles and moisture is recommended.
Can I use a regular inkjet printer for DTF?
You can convert some inkjet printers for DTF use, but it requires modifications like a white ink circulation system and specialized inks. Dedicated DTF printers are more reliable and produce better results.
How do I wash a DTF-printed garment?
Turn the garment inside out and wash in cold water. Avoid bleach and fabric softeners. Tumble dry on low or hang to dry. Iron inside out, avoiding the printed area.