
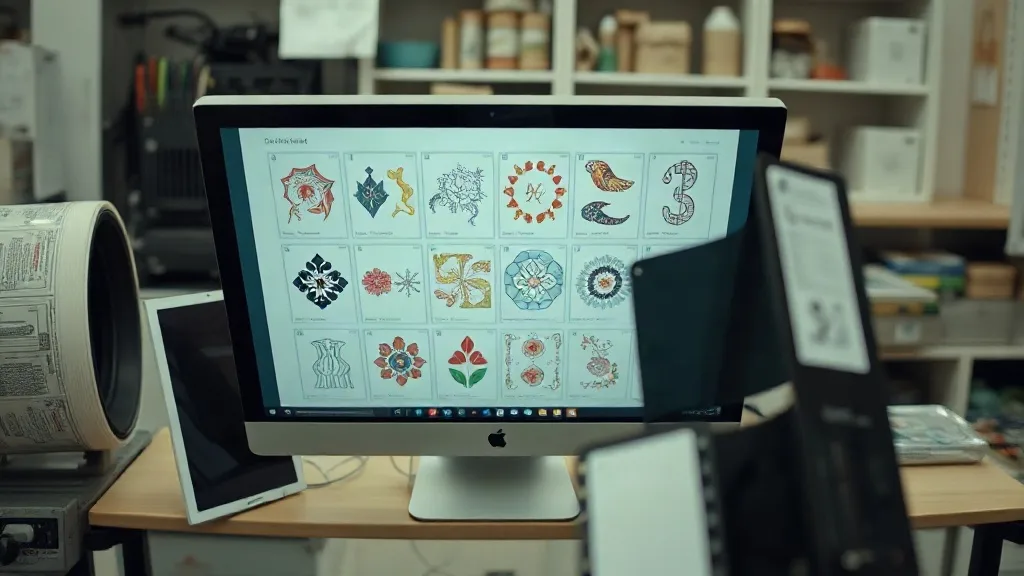
You have probably felt the sting of peeling a transfer that did not stick or tossing a sheet with too much empty film. Film is one of the biggest ongoing costs in DTF printing, and it is also one of the easiest places to lose money without noticing. The good news is that a well-planned DTF Gangsheet is not just about fitting more designs on a page; it is a cost-control tool. In this guide, we will look at how to plan your gangsheets so you use less film, waste fewer supplies, and keep more of every sale as profit.
Why Film Waste Is a Silent Profit Killer
Most DTF shops focus on ink cost or powder cost, but film often gets overlooked because it is bought in rolls and used gradually. The problem is that small inefficiencies add up fast. A few centimeters of unused film at the top of every sheet, a design that could have been rotated but was not, or a sheet that was built with only one small logo on it all mean you are paying for film that never becomes a product.
Think about it this way: every square inch of film you throw away is money you already spent. If you print 50 sheets a week and each one has 10% waste, you are essentially buying five extra sheets you never use. Over a year, that is hundreds of sheets. The fix is not about working harder; it is about planning smarter.
The Anatomy of a Cost-Effective Gangsheet
A cost-effective gangsheet starts before you open your design software. It begins with a clear idea of what you need to print and how those items will be used. Here are the key elements to consider:
- Design size and quantity: Know exactly how many of each design you need. Printing extras "just in case" is one of the most common sources of waste.
- Film width: Match your sheet layout to the width of your film roll. Leaving a wide margin on one side is like throwing away a strip of film on every sheet.
- Spacing: Designs need a small gap for cutting, but too much gap is wasted film. Find the sweet spot that allows clean cuts without excess.
- Orientation: Rotating designs to fit better can dramatically reduce empty space, especially with irregular shapes.
When these four elements are in balance, your gangsheet becomes a tight, efficient package that uses almost every inch of film.
Nesting Strategies That Save Film
Nesting is the art of arranging designs on a sheet to minimize empty space. It is not just about cramming as many designs as possible; it is about using the film intelligently. Here are some practical nesting strategies that work in real print shops:
1. Group Similar Sizes
If you have several designs of the same size, group them together. This creates a more uniform layout and reduces awkward gaps. For example, if you have ten 3-inch logos, place them in a grid rather than scattering them among larger designs.
2. Rotate for Fit
Many designs can be rotated 90 degrees to fit into tighter spaces. This is especially useful for long, narrow designs. Just make sure the rotation does not affect the final application (for example, text should remain readable).
3. Use the Edges
The edges of a sheet are often left empty because designs are centered. But small items like neck labels or sleeve prints can fill those edges nicely. Just leave enough margin for the printer to grab the film.
4. Combine Orders
If you have multiple small orders, combine them onto one gangsheet. This not only saves film but also reduces setup time and powder usage. A single well-planned sheet can handle several customer orders at once.
Software Settings That Prevent Waste
Your RIP or layout software has settings that can help you save film automatically. Here are a few to check:
- Auto-nesting: Many programs have an auto-nesting feature that arranges designs efficiently. Use it as a starting point, then fine-tune manually.
- Spacing: Set the minimum spacing between designs to just enough for cutting. Too much spacing wastes film; too little can cause cutting errors.
- Margins: Reduce the top and bottom margins if your printer allows. Some printers need a certain margin to grip the film, so check your manual.
- Cut marks: Use cut marks that are as small as possible. Large cut marks take up space that could be used for designs.
Spend an hour exploring your software settings. You might be surprised at how much film you can save with a few adjustments.
Practical Tips for Daily Operations
Saving film is not just about the digital layout; it is also about how you handle materials in the shop. Here are some habits that make a difference:
- Measure twice, cut once: Before you cut a sheet from the roll, double-check the length you need. A miscalculation can waste a long strip.
- Keep a waste log: Track how much film you throw away each week. Seeing the numbers can motivate you to improve.
- Reuse scraps: Small scraps can be used for test prints or tiny designs. Do not throw them away immediately.
- Train your team: Everyone who builds gangsheets should understand the cost of film and the importance of efficient layouts.
These small habits compound over time and lead to significant savings.
How to Calculate Your Film Cost per Transfer
To really understand your film usage, calculate the cost per transfer. Here is a simple formula:
- Determine the cost of a full roll of film.
- Measure the total square inches on the roll.
- Calculate the cost per square inch.
- For each gangsheet, measure the total square inches used (including waste).
- Divide the number of transfers on the sheet by the total cost of the film used.
For example, if a roll costs $100 and contains 10,000 square inches, the cost is $0.01 per square inch. If a gangsheet uses 500 square inches and produces 50 transfers, the film cost per transfer is $0.10. Tracking this number helps you see the impact of waste and improve over time.
Common Mistakes That Inflate Film Costs
Even experienced printers make mistakes that waste film. Watch out for these:
- Overestimating quantities: Printing more transfers than you need ties up film and ink in inventory that may never sell.
- Ignoring film width: Using a wider film than necessary for small designs wastes money.
- Poor spacing: Leaving too much space between designs is like leaving money on the table.
- Not rotating designs: Failing to rotate can leave large gaps that could have been filled.
- Using the wrong film type: Some films are more expensive but not always necessary. Match the film to the job.
Avoiding these mistakes can cut your film costs by 20% or more.
Frequently Asked Questions
How can I reduce film waste when printing small batches?
For small batches, combine multiple designs onto one gangsheet, even if they are for different orders. Use nesting software to arrange them efficiently, and consider using a narrower film roll if your printer supports it. Also, keep a stash of small scraps for test prints or tiny designs.
What is the ideal spacing between designs on a DTF gangsheet?
The ideal spacing depends on your cutting method. For manual cutting, leave about 3-5 mm between designs. For machine cutting, 2-3 mm is often enough. Always test with your equipment to find the minimum spacing that allows clean cuts without risking the design.
Does film thickness affect cost and waste?
Yes, thicker film costs more per square inch and may require more powder, but it can be more forgiving during printing. Thinner film is cheaper but may jam or wrinkle more easily. Choose a film that balances cost with reliability for your printer.
How often should I review my gangsheet layouts for efficiency?
Review your layouts regularly, especially when you notice film costs rising or when you introduce new designs. A good practice is to do a quick audit monthly. Look for patterns of waste and adjust your nesting strategies accordingly.
Can I use the same gangsheet for different fabric colors?
Yes, DTF transfers can be applied to many fabric colors, but you need to consider the design's colors. White ink is used as a base for bright colors on dark fabrics. If you are printing for both light and dark fabrics, you may need separate gangsheets to optimize ink usage.